| Shady Springs | |

| |
| Game Appearance | |
|---|---|
| Cactus McCoy and the Curse of Thorns | |
| Previous Area | Next Area |
| Rustler Railroad | Powderkeg Pass |
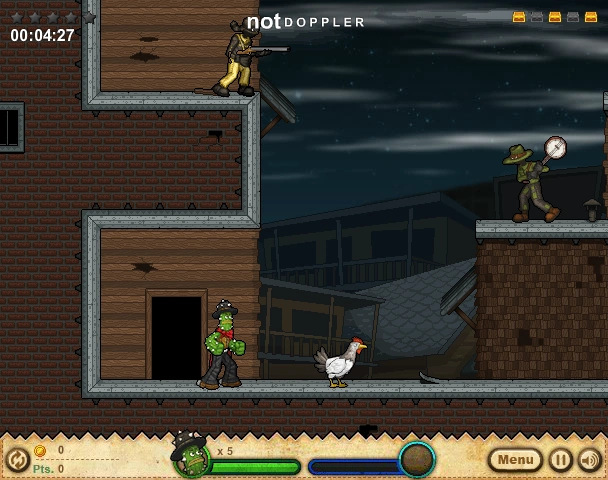
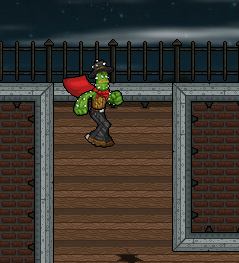
Shady Springs is the fourth area in Cactus McCoy and The Curse of Thorns.
Challenges[]
- Chicken Wrangler - Get all of the chickens in the coop
- Quick Escape - Beat the level in 2:30
- Fireworks - Kill 20 Enemigos using only a Roman Candle
- Tenderizer - Kill an Enemigo with a weapon, then juggle him 5 times with your fists
- Sneaky McCoy - Reach the end of the level without dying
Chest Locations[]
NOTICE: Oddly, the third treasure is encountered before the second.
Chest 1:[]
After working your way up to the top of the first section of the area (the section where you start out), you should see a Red Enemigo. To the right will be two barrels. Go back down to where you first spawned, and grab the chicken. Go back up to where you just was, and jump to the left. A few steps will take you to the first Treasure Chest. An alternate way is to grab the first crate you see after spawning. Drop the crate at the very edge of the top ledge, and jump left.
Going for Chest 1.
Chest 2:[]
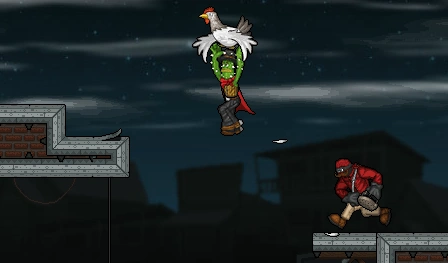
For the second treasure, you should be in the third area, which can be reached as stated in the previous paragraph. Within a few steps, you will see ledges and platforms above you. Grab the chicken just to your left, and toss it up unto the first platform. In order to throw it high enough, you will need to make a small hop and then throw it. Jump up and grab on to the rung/ledge, then jump onto the first platform, with your waiting chicken. Grab it and make another small hop and throw it up onto the next, higher-up platform. Jump and grab the ledge, then jump to the platform with your chicken. Overall, you should do this a total of four times, until you reach the top. Grab the chicken and walk off of the platform, keeping McCoy pressed against the wall as he falls (hold the right arrow key down the whole time). Since chickens slow your decent, you should glide into the small cave-like area, and grab the second chest.


Tossing the Chicken onto the first platform for Chest 2.
Chest 3:[]
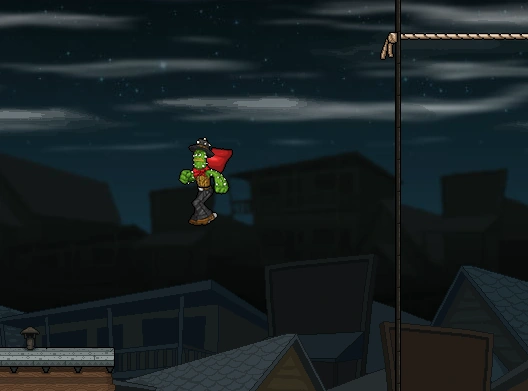
For the third, you should be in the second section of the area. After defeating a Red Enemigo, you will hop up two platforms, and see an arrow sign pointing diagonally upwards, with a White Swinging Enemigo and Brown Swinging Enemigo on the platform above. Hop up to the platform to the left, and you will see a rope. Jump over and grab onto it (which McCoy does automatically if you touch it), and work your way across. After you reach the end, jump off to the left (make sure to hold down the left arrow key). If you've done this right, you'll have just enough distance to land on a high-up platform. Go to the left, and hop up to the other platform and get the treasure. But don't leave just yet! Hop up to the left and onto the platform, and enter the third area.

Going for Chest 3.
Chest 4:[]
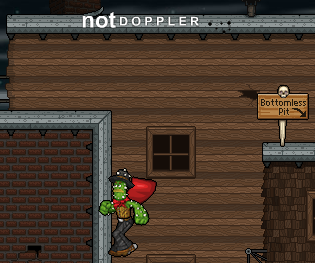
Go to the platform where you saw the arrow sign pointing diagonally up, which is where you started out for Chest 3. To the right of the above platform are the White and Brown Swinging Enemigos. Defeat them (if you haven't done so already), and jump to the platform to the right. Walk to the end of this platform, and you should see a platform above you, along with a gap between this and the right platform, and a sign that says "Bottomless Pit". Ignoring the sign, jump into the pit, but keep your left arrow key held down the whole time, keeping McCoy up against the left wall. You will land on a platform, right in front of the fourth Chest. To the left will be two ropes that you can use to jump up and escape.

Falling to Chest 4.
Chest 5:[]
In the third-to-last section of the area (the one right before you go to the room you get locked in and have to fight Enemigos), stop before entering the second-to-last section of the area. Walk back left a few steps, and you will notice that the platform isn't made of bricks in a spot, but rather wood. Press the down arrow key plus A while standing on it to fall through this area. Upon landing, go right. Fall down past the ladder rungs/ledges, landing in front of the fifth Chest. To escape, climb back up the rungs, then go left.

Falling through the platform to get to Chest 5.
Weapons[]
The following weapons are first encountered in this level:
Chickens[]
One of the unique features of this area is the chickens. You will stumble across most of them while navigating your way through the area, but one tricky chicken stands out: the one in the third section of the area, where the second Secret Treasure is. Upon running (right) to the end of this area, you will see the chicken on a ledge, with a sign pointing diagonally-up at it. In order to get this chicken, you will need help from another. Conveniently, there is another chicken nearby, where you first entered the area. Grab it (or any other chicken), and toss it up the ledges as explained in how to get Chest 2 (see the third paragraph in the 'Locations of the treasures' section of this page).
Upon reaching the top, you should jump as far to the left as possible (as opposed to going right to get Chest 2). Toss the chicken to the left upon seeing the rope, and it should land on the platform above the rope. McCoy should land on the rope (grabbing onto it in the process). Climb left to the end of the rope. At the end, you should see a ledge above you. Jump up and grab onto it, and then jump up to the one above it. Hop up to the right and grab you chicken you just tossed here. Then go to the left, hop past the ledge you were on earlier and onto the next platform. The jump to the left and glide to the high-up platform that has your prized chicken. Simply toss them both off the ledge, then jump down and take them to the pen.
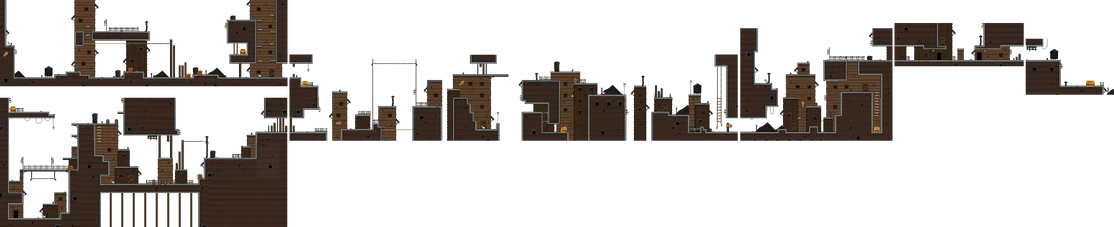
Map[]

| Category:Levels | |
| Cactus McCoy | Cactus Canyon • Prospector Mines • Rustler Railroad • Shady Springs • Powderkeg Pass • Midnight Express • Rattler Ravine • Brimstone Mine • Deadridge Railway • Sunset Gulch • Emerald Temple • Emerald Shrine |
|---|---|
| Cactus McCoy 2 | Tumblewood • Dustbin Road • Thistle Trail • Prickly Prairie • Southwind Express • Blackstone Tunnel • Calamity Cave • Port Scamwell • Gridlock Canal • Makopa Jungle • Whiplash Rapids • Calavera Ruins |
| Unplayable Areas | Calavera • Driftwood Wharf |